NTDT2019ADAMS56499 NTDT
A CULINARY MEDICINE COURSE IMPROVES NUTRITION AND DIETARY COMPETENCIES OF HEALTH PROFESSIONS STUDENTS
Type: Undergraduate
Author(s):
Angela Adams
Nutritional Sciences
Haley Tullos
Nutritional Sciences
Advisor(s):
Lyn Dart
Nutritional Sciences
Rebecca Dority
Nutritional Sciences
Anne VanBeber
Nutritional Sciences
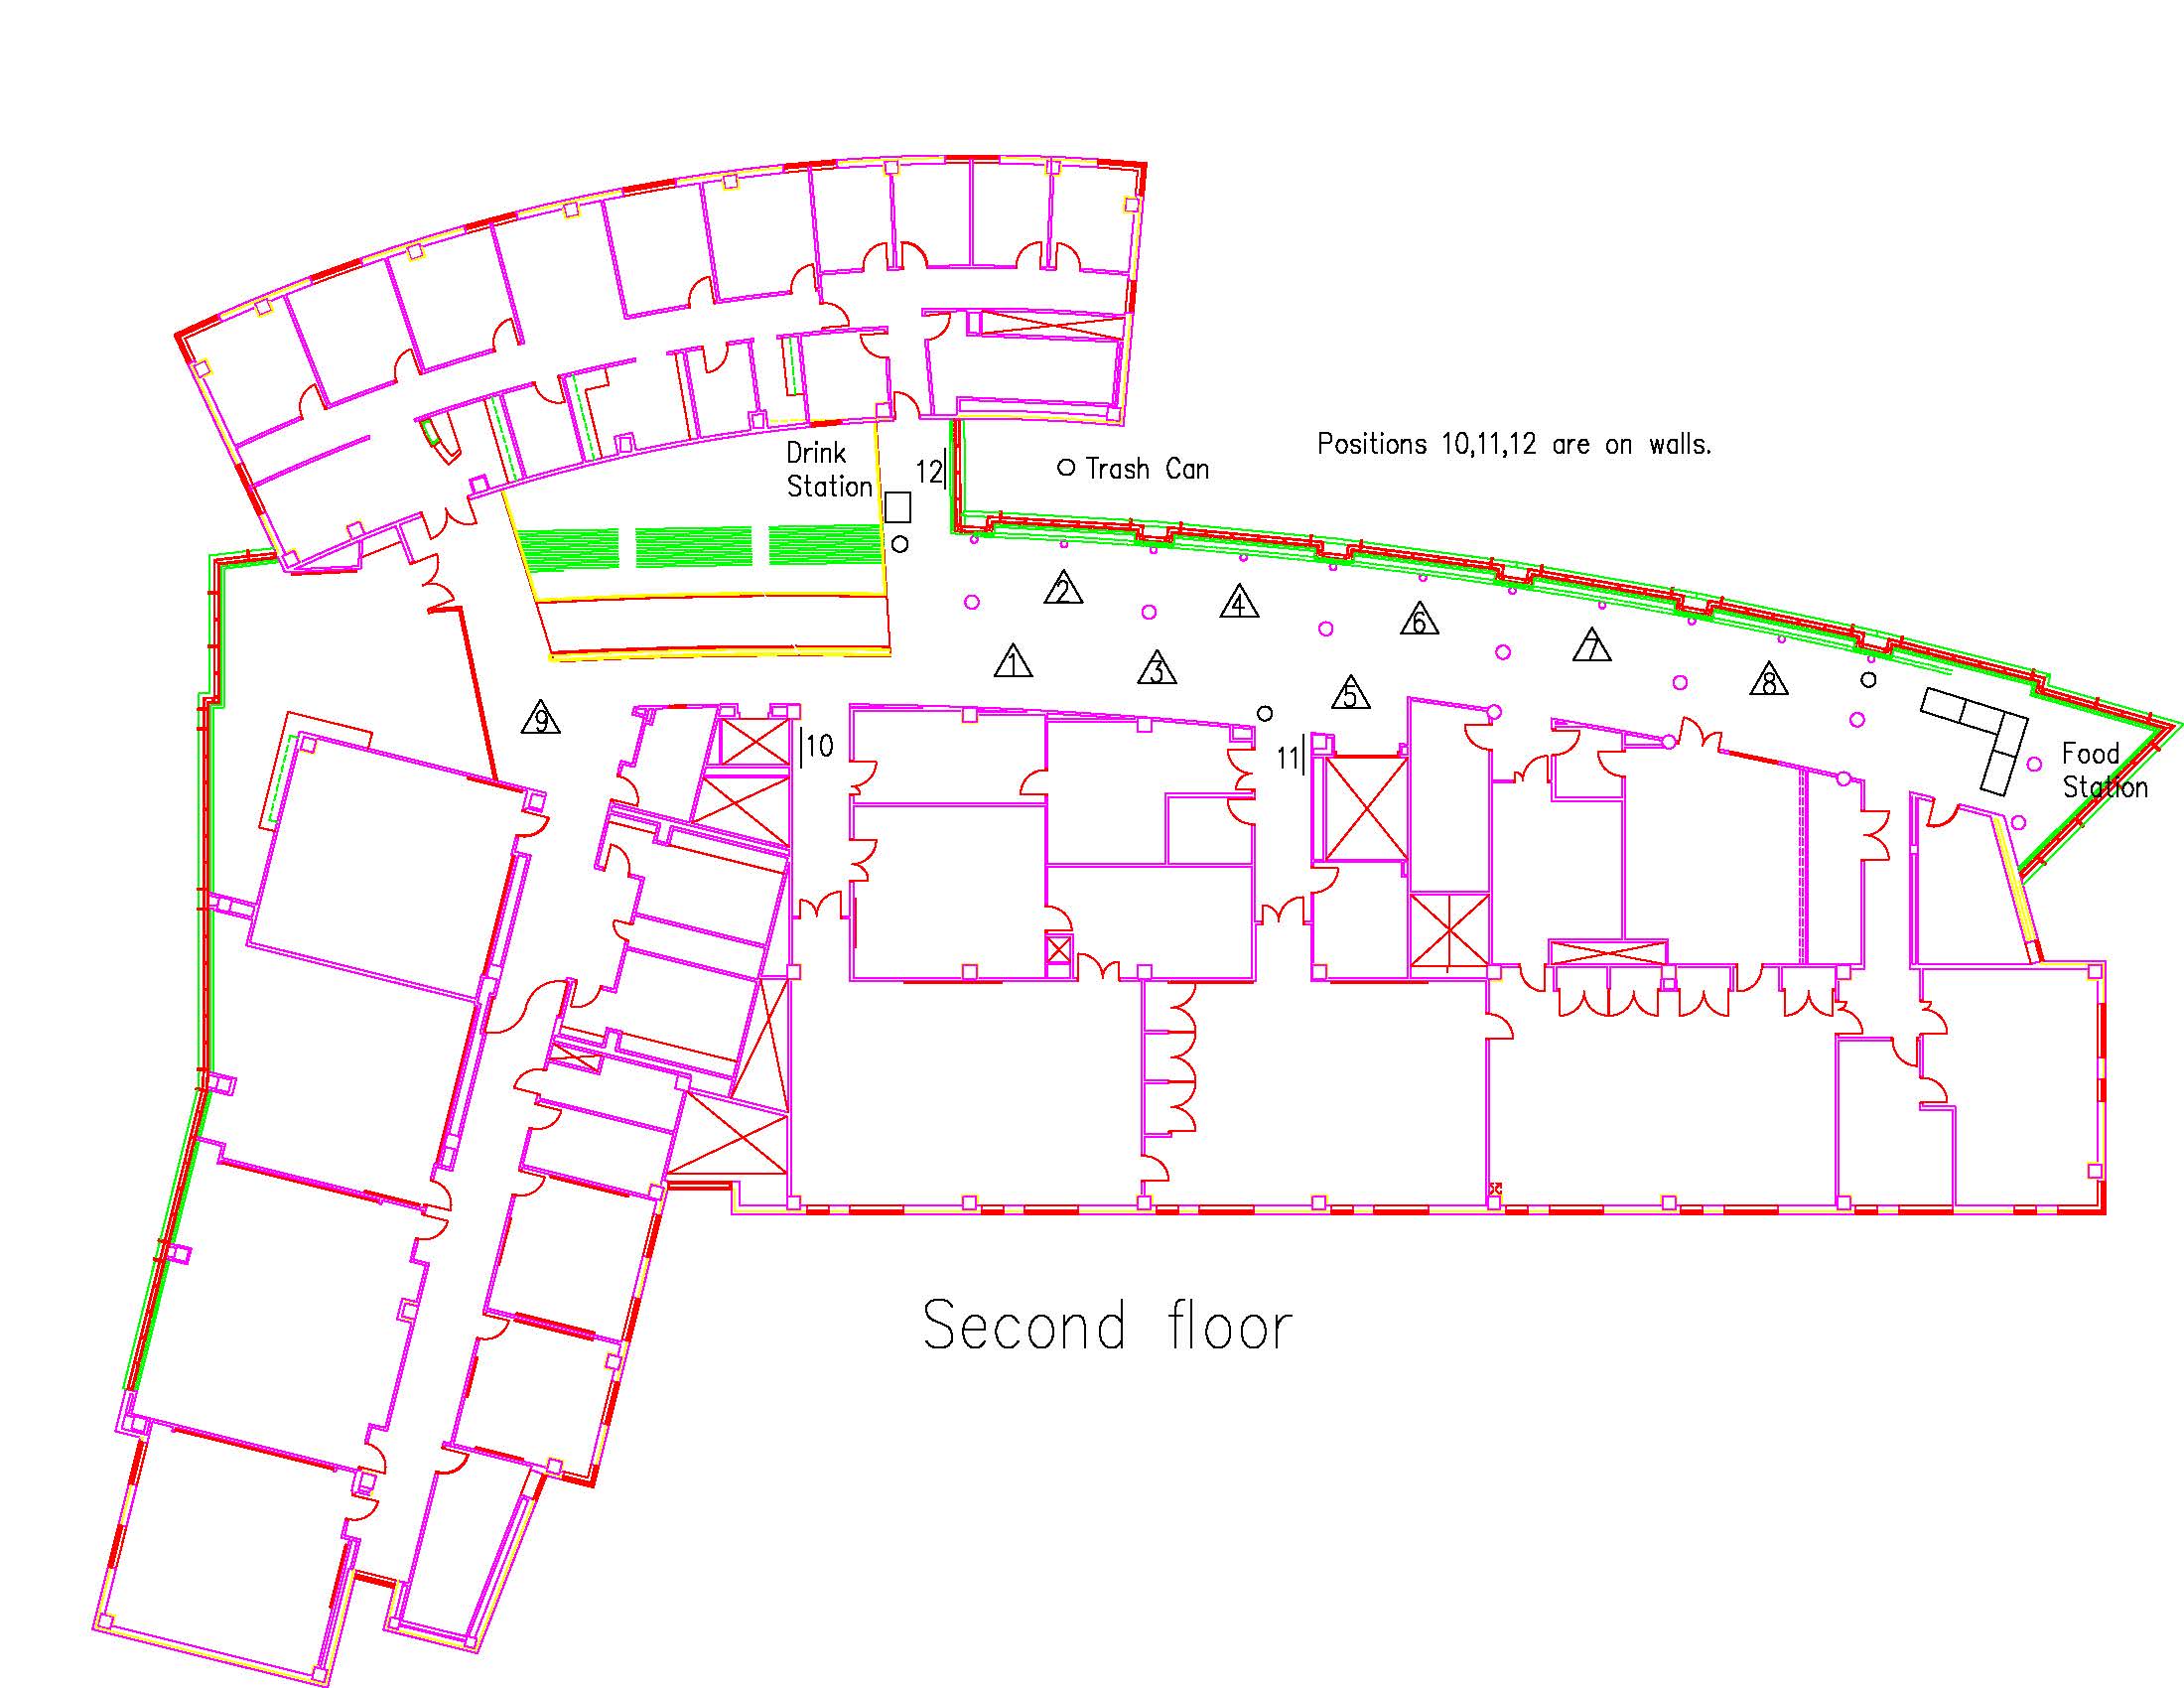
Location: Session: 1; 2nd Floor; Table Number: 1
View PresentationBackground: Nutrition plays a vital role in disease prevention and health promotion; however, few health professions curriculums provide adequate nutrition education. The Culinary Medicine program (CM) was developed at Tulane University Goldring Center for Culinary Medicine in 2012 to train health professions students about nutrition and healthy eating practices. Students also participate in a 10-year longitudinal study (Cooking for Health Optimization with Patients, CHOP) to assess learning outcomes.
Objective: Assess outcomes of a CM course for improving nutrition and dietary competencies of health professions students.
Design: Cohort of 77 medical and 13 physician assistant students (57/female; 33/male) from University of North Texas Health Science Center (UNTHSC) and Texas College of Osteopathic Medicine (TCOM).
Methods: The CM curriculum was first offered in Fort Worth, TX in 2014 and taught by faculty from UNTHSC, TCOM, Texas Christian University (TCU) and Moncrief Cancer Institute. During 2016-2018, students participating in the CM course were assessed using the 4-part CHOP survey including demographics, attitudes, dietary habits, and degree of proficiency in competencies related to nutrition/dietary knowledge and application. Study procedures were approved by TCU IRB, and informed consent was obtained. Data were analyzed to meet study objectives (SPSS, p<0.05).
Results: Results showed that students who participated in the CM course reported greater proficiency in their ability to inform patients about nutrition/dietary competencies: (1) health effects of the Mediterranean, Dash, and low fat diets; (2) weight loss strategies, portion control, food label facts and serving sizes; (3) dietary practices for type 2 diabetes, celiac disease, and food allergies; (4) role of dietary cholesterol/saturated fats in blood lipids; (5) recognizing warning signs/symptoms for eating disorders; and (6) role of fiber and omega-3 fatty acids in disease prevention and heart health (p<0.05).
Conclusion: Study results underline the value of dietetics educators providing innovative learning opportunities that integrate nutrition into training for health professions students.
NTDT2019COWART45959 NTDT
Determining Level of Adherence to the Mediterranean Diet by Individuals Living in the United States
Type: Undergraduate
Author(s):
Stephanie Cowart
Nutritional Sciences
Rachel Seguin
Nutritional Sciences
Advisor(s):
Anne VanBeber
Nutritional Sciences
Lyn Dart
Nutritional Sciences
Location: Session: 1; 2nd Floor; Table Number: 3

View PresentationDETERMINING LEVEL OF ADHERANCE TO THE MEDITERRANEAN DIET BY INDIVIDUALS LIVING IN THE UNITED STATES
S. Cowart,1 R. Seguin,1 A. VanBeber PhD, RD, LD, FAND1; L. Dart, PhD, RD, LD1;
1Texas Christian University
Learning Outcome: To determine how closely components of the Mediterranean Diet are followed by individuals living in the United States.Learning Needs Codes:
Primary: 3020 Assessment of Target Groups
Secondary: 4040 Disease PreventionBackground: Research indicates those who follow a diet and lifestyle resembling the Mediterranean Diet have lower chronic disease risk.
Objectives: The objectives of this study were to determine how closely the Mediterranean Diet was followed by individuals living in the United States and to analyze correlations between dietary patterns and chronic disease risk.
Design: This un-blinded, randomized trial was approved by Texas Christian University IRB. Participants were recruited via social media, email/text messaging, and in-person communication. Following informed consent, participants completed an online questionnaire through Survey Monkey™. Analyses assessed consumption of fruits, vegetables, whole grains, dairy, legumes, animal protein, nuts, water, and red wine compared to Mediterranean Diet Score recommendations.
Methods: Data were analyzed using SPSS (p<0.05) and (p<0.01), and frequency distributions and correlations were analyzed for trends in adherence to Mediterranean Diet and USDA dietary recommendations.
Results: Participants included 258 females and males (86% and 14%, respectively). Sixty-nine percent identified as Caucasian, 21% Hispanic, 10% other ethnicity, and 13% reported chronic disease diagnosis. High school diploma was the highest education earned by 13% of participants; 28% obtained some college, and 59% received a bachelor’s degree or higher. Forty-six percent were married; 41% were single. A strong inverse relationship existed between age and physical activity, with participants ages 18-34 years reporting greater physical activity compared to participants >35 years old (r=-.131; p=0.05). With participants who performed >30-60 minutes physical activity/day, a positive relationship existed with greater consumption of vegetables and fruits (r=.200; p=0.05). Results also indicated only 36% of participants consumed the Mediterranean Diet Score recommendations for >2-3 cups vegetables/day, and only 22% consumed the recommended >2 cups fruit/day.
Conclusions: To lower chronic disease risk in the United States, nutrition education efforts should focus on importance of increasing fruit and vegetable consumption and greater adherence to Mediterranean Diet principles.
Funding Source: N/A
Word Count: 296
Key Contact: Anne VanBeber RD, LD, PhD, FAND, a.vanbeber@tcu.edu
NTDT2019DECKARD16889 NTDT
The Effect of Knowledge, Behaviors and Attitudes towards Dietary Fatty Acids on BLood Lipid Levels
Type: Undergraduate
Author(s):
Amber Deckard
Nutritional Sciences
Cassidy Shabay
Nutritional Sciences
Advisor(s):
Jada Stevenson
Nutritional Sciences
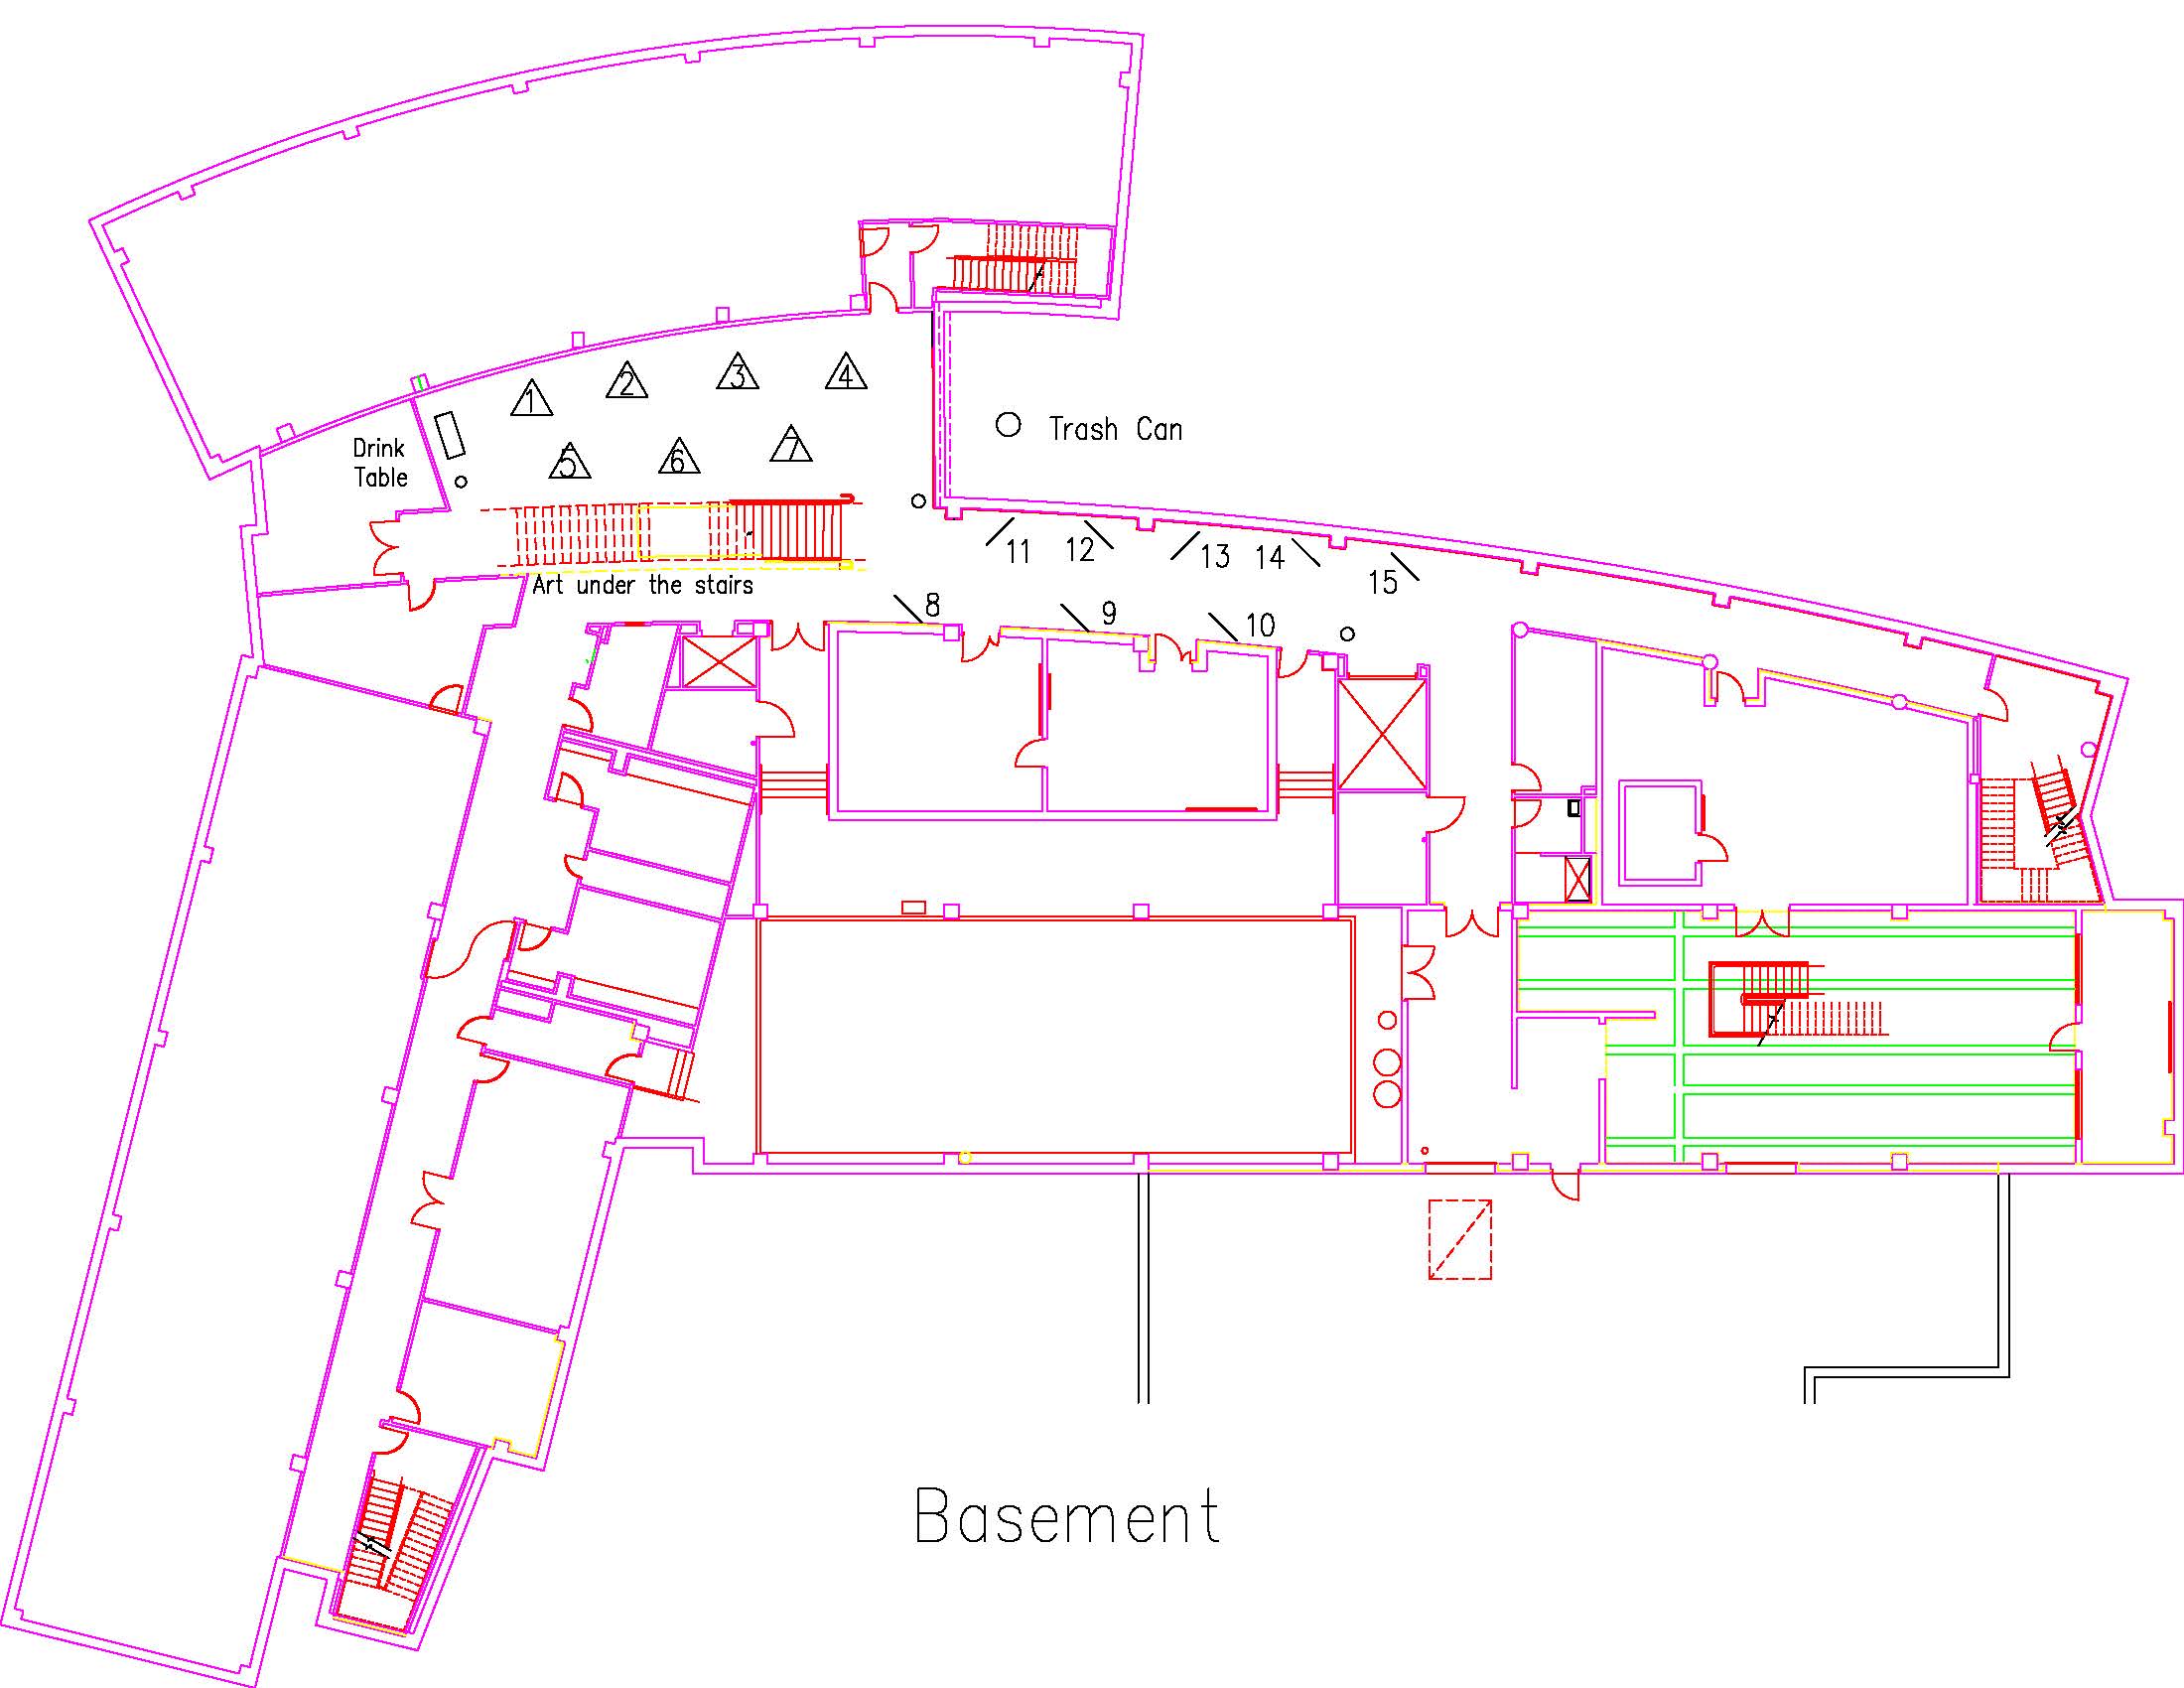
Location: Session: 2; Basement; Table Number: 5
View PresentationLearning Outcome: Provide education about the knowledge, behaviors and attitudes individuals have towards dietary fatty acids.
Background: Research has shown a strong relationship between dietary fatty acids (FAs) and their impact on blood cholesterol. Few studies have examined knowledge, behaviors and attitudes (KBA) towards dietary FAs impact on blood lipid levels.
Objective: To determine: 1) KBA of FAs using the modified General Nutrition Knowledge Questionnaire (GNKQ); and 2) correlations between anthropometric data, GNKQ responses and blood lipid levels.
Design: This study utilized a cross-sectional research design.
Methods: Upon IRB approval, 104 women ages 18-40yr consented and completed the modified GNKQ via Qualtrics®. The GNKQ consisted of 42 questions and took approximately 15min to complete. Additionally, a subset of nine women also were instructed to fast for 12-15hrs prior to testing at the Obesity Prevention Laboratory at TCU. Height (cm), weight (kg), BMI (kg/m2), waist-to-hip ratio were recorded. Next, a fasting blood sample (5mL) was obtained. The blood samples were sent to AnyLabTestNow® (Fort Worth, Texas) for a lipid panel. Results were analyzed via IBM SPSS® (Statistics Version 25.0. Armonk, NY). Significance was set at p<0.05.
Results: More than 80% of participants were aware of saturated, monounsaturated, and polyunsaturated FAs, but only 33.3% were able to identify their proper food sources. Of the survey responses, approximately 1.9% demonstrated poor knowledge (answered 0-11 questions correctly), 54.3% moderate knowledge (12-23 questions correctly), and 43.8% strong knowledge (24-34 questions correctly). 100% of lipid panel participants had normal total cholesterol and HDL levels. Risk ratio (LDL/HDL) and weight showed a strong positive correlation (p=0.004, r=0.846**).
Conclusion: Despite self-reported awareness, participants lack knowledge of dietary FAs. The subset results showed strong correlation between risk ratio and weight representing the relationship between weight and lipid levels. Overall, more research should ensue with a larger sample.
NTDT2019ENDICOTT10161 NTDT
A Model for Implementing a Food Recovery Program at the University Level
Type: Undergraduate
Author(s):
Lexi Endicott
Nutritional Sciences
Advisor(s):
Jada Stevenson
Nutritional Sciences
Lyn Dart
Nutritional Sciences
Gina Hill
Nutritional Sciences
Location: Session: 1; 2nd Floor; Table Number: 4

View PresentationBackground: Over 42 million Americans face food insecurity (FI). Simultaneously, approximately 40% of food produced in the U.S. is wasted. Where FI and food waste (FW) coexist, it is necessary to develop and implement programs to decrease the negative consequences caused by these issues.
Objective: The objective of this study was to create a standardized model for implementing a student-led food recovery program (FRP) for other universities to access and utilize. The secondary objective was to measure the effectiveness of the FRP at TCU.
Researchers hypothesized that by incorporating the FRP into the dietetics program, the FRP would achieve program sustainability and enhance dietetic students’ knowledge of FI and FW.
Design: This study utilized a mixed methods study design.
Methods: Over three academic semesters, researchers observed the overall operations of the FRP at TCU. Researchers collected quantitative data on food types (i.e. vegetables, grains, proteins, mixed), quantities (pounds), and raw food costs ($). Researchers conducted semi-structured interviews with nutrition and dietetics students, foodservice personnel, and faculty and analyzed interview transcriptions for prevalent theme codes. A codebook was created based on frequently identified phrases, and themes were extracted. Participants provided written consent. This project received IRB approval.
Results: Over 12,700 pounds of food were recovered during the study period. By weight, protein-containing foods were the most recovered type of food (~5700 lbs.), followed by grains (~2900 lbs.), vegetables (~2100 lbs.), and mixed foods (~2000 lbs.). Five major themes were extracted from interviews; all respondents identified the FRP as a meaningful and practical program.
Conclusions: FRP offers a sustainable solution for benefitting the environment, combating FI, and providing dietetics students with experience working with FI and FW. Efforts should be made to incorporate a FRP at the university level, and a dietetics program may offer an effective means to achieve this integration.
NTDT2019FREDERICKSON39661 NTDT
EAT2WIN: A PILOT STUDY ASSESSING ATHLETES BEHAVIORS, ATTITUDES, AND ADHERENCE USING A MOBILE APPLICATION
Type: Undergraduate
Author(s):
Jade Frederickson
Nutritional Sciences
Ginny Ho
Nutritional Sciences
Advisor(s):
Lyn Dart
Nutritional Sciences
Brooke Helms
Interdisciplinary
Jada Stevenson
Nutritional Sciences
Anne VanBeber
Nutritional Sciences
Location: Session: 2; Basement; Table Number: 1

View PresentationBackground: Athletes increasingly skip meals because they lack time or knowledge to prepare their own meals; mobile applications have been proposed as a potential solution to this problem. Adherence to mobile app tracking may vary, but self-motivation and nutrition knowledge has been shown to increase chances of behavior change while using an app.
Objective: Determine if female college athletes’ nutrition/fueling behaviors changed over four weeks by utilizing a mobile application for tracking fueling practices.
Design: Pilot study with cohort of 17 female TCU NCAA Beach Volleyball athletes.
Methods: Pre and post-study questionnaires examined attitudes toward mobile applications, dietary behaviors, and frequency of fueling habits. Athletes also attended a pre-study training session about utilizing the Eat2Win app. Data analyses included recorded frequency of application usage and logged meals per/day plus impact on dietary behaviors/fueling habits. Study procedures were approved by TCU IRB. Participant informed consent was obtained. Data were analyzed to meet study objectives (SPSS, p<0.05).
Results: Most athletes (82%) disliked using the Eat2Win app, where app usage decreased from 88% in week one to 18% app usage at the completion of the study. Reasons for the pronounced decrease in usage included frequent app crashes, too time consuming, and limited phone storage space. Additionally, results did not show improvement in athletes’ eating habits with app usage. Although pre-study results showed 42% of athletes did not consistently eat breakfast and/or eat/drink something every 3-4 hours, those athletes who reported greater frequency of eating breakfast and/or every 3-4 hours or refueling one hour after practice, maintained consistent positive eating behaviors throughout the study. These same athletes also reported greater energy levels overall (r=.671; p=0.01).
Conclusions: Study results emphasize the importance of implementing user-friendly mobile apps for athletes that are time-use efficient and offers calorie-counting and picture logging functions to promote change in dietary and refueling practices.